Set up Mailtiv for your company
Setup takes about 30 minutes of work: a Global Admin approves Mailtiv in Microsoft 365, adds the admins, deploys the Outlook add-in from the admin center and publishes the first signature. The add-in can take up to 24 hours to appear in everyone's Outlook.
Setup takes about 30 minutes of work. After that, wait up to 24 hours for Microsoft to show the add-in to everyone.
Before you start
- Microsoft 365 with Exchange Online mailboxes.
- A Global Administrator (or Privileged Role Administrator) for the one-time approval in step 1.
- Outlook from a Microsoft 365 subscription, kept up to date: Windows (new or classic), Mac, web, iPhone or Android. Older one-time-purchase versions such as Outlook 2016 and 2019 can't add signatures automatically.
Step 1: Sign in and approve Mailtiv
- Go to my.mailtiv.com and select Sign in with Microsoft.
- Sign in with your administrator account. Microsoft shows the permissions Mailtiv needs. Read them and select Accept.
- You're brought back to the Mailtiv portal.
You can see the permissions any time later under Settings.
Notes:
- If someone without admin rights signs in first, they see a page asking them to wait for an administrator. Ask your Global Administrator to sign in once.
- If you select Cancel on Microsoft's screen, Mailtiv shows a "consent declined" page. Sign in again when you're ready.
Step 2: Make yourself the first Mailtiv admin
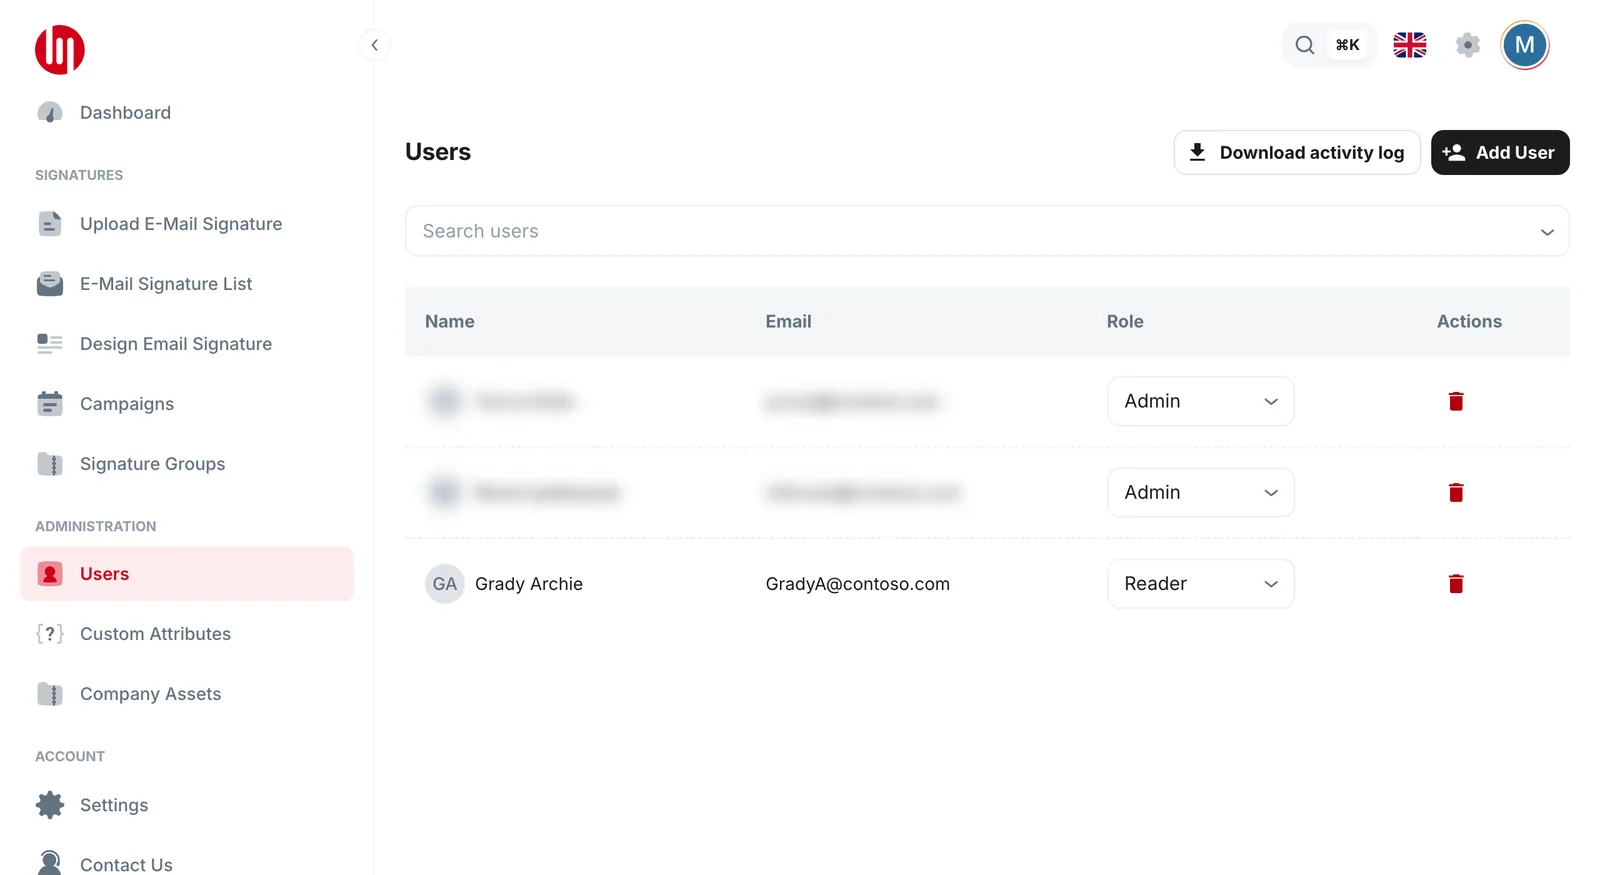
The first time, Mailtiv opens Initial Setup. Confirm, and you become the Mailtiv administrator.
Then add colleagues under Administration → Users with one of three roles:
| Role | Can do |
|---|---|
| Admin | Everything, including users and roles, company assets, signature groups, custom attributes, consent, and deleting company data |
| Contributor | Create and edit signatures and campaigns, change the timezone |
| Reader | View signatures, campaigns and the dashboard |
People in your company who only send email don't need a role. Roles are only for people who use the portal.
Step 3: Deploy the Outlook add-in
- Open the Microsoft 365 admin center and go to Settings → Integrated apps → Get apps.
- Search for Mailtiv - Email Signature and select Get it now. You can also start from the Mailtiv page on Microsoft Marketplace.
- Assign it to a small pilot group first, and finish the wizard.
- When the pilot looks good, change the assignment to Entire organization.
It can take up to 24 hours before the add-in shows up in everyone's Outlook. Users don't have to do anything.
Step 4: Prepare Outlook
To avoid two signatures in one email:
- Ask people to remove their own Outlook signatures, or set them to "(no signature)" for new messages and replies.
- Optional, for Outlook on the web and the new Outlook: you can stop users from creating their own signatures. In the Exchange admin center, go to Outlook web app policies, open the policy, then Features → User experience, and clear Email signature. In PowerShell:
Set-OwaMailboxPolicy -SignaturesEnabled $false. This does not affect classic Outlook. (Source: Microsoft Learn, "Policy management in new Outlook for Windows".)
Shared mailboxes aren't supported. Mailtiv signatures are meant for each person's own mailbox.
Step 5: Your first signature in 10 minutes
Company Assets: add your logo, social links, address and disclaimer.
Design Email Signature: pick a template from the Template gallery and adjust it. Preview it with your own details.
Under Signature Settings, set:
- Title
- Domain (your email domain)
- Assign to: leave empty for the whole company
- Status: Active
Then save.
In Outlook (a pilot user), start a new email. Your signature appears.
Next: Portal guide.
Questions?
Book a meeting with our team or sign in to the portal.